nowucca.com - personal software technology blog
I have about 50-100 old tapes I saved from my teens and twenties.
What's the best way to digitize these tapes? I have Mac OSX, so I did some research and found this awesome USB cassette capture device and a fantastic piece of software called Audacity for MacOSX.
Purchase the capture device, plug it in via USB.
Download Audacity 2.0.5 and the LAME encoder plugin if you want to save MP3 files.
This review gives some instructions for first using Audacity. I'll copy it here as well in case it goes away - this is just the raw basics of how to use Audacity.
Briefly, hook up the player via USB, download Audacity 2.0.5 (free), change Mac System Preferences - Sound - Input - to "USB PnP Audio Device". In Audacity, go to the Transport tab and turn off Overdub, and turn on Software Playthrough (can also be changed under Audacity - Preferences - Recording).
When playing your tape, press the round red "recording" button in the Audacity window; without pressing it I couldn't hear the playback. When song is finished, press the square brown "stop" button. To save the recorded song, go to File - export - and name your file and format (I used AIFF for Mac). Once saved to my desktop, I then delete the recording from Audacity by clicking the 'X' beside Audio Track in the Audacity window. I haven't played around with all the filters and effects yet. I converted only around 20 songs so far, so cannot judge longevity of the unit yet.
Once you've played around with Audacity for a while, you'll start to think - this is still hard to capture songs from 50 audio tapes. So here is my current workflow for helping.
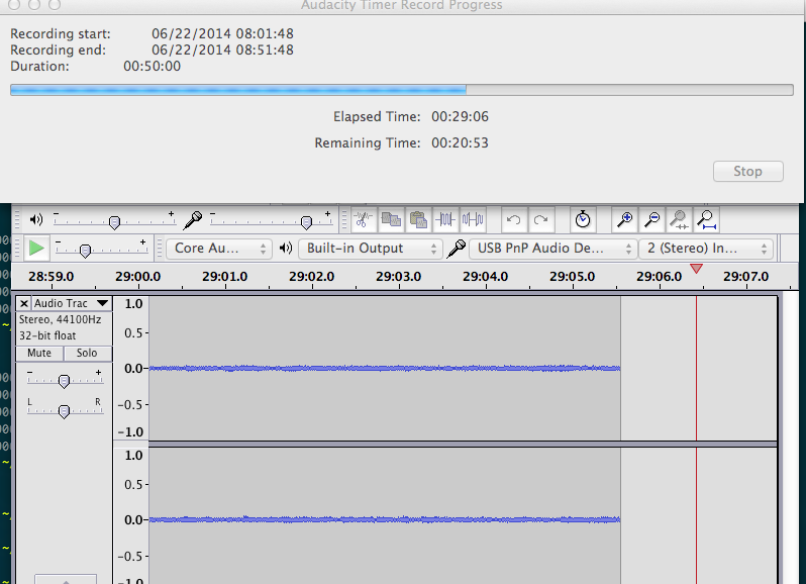
Timed Recordings: I don't have time to listen to all these tapes, but they have to play to capture. Use Transport/TimerRecord in Audacity to record for 45 minutes per side. This means you don't have to worry about coming back to stop capturing right on time.
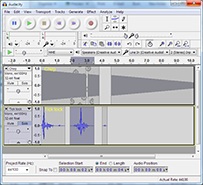
Tape Hiss Removal (Works great, Must do): Once captured, I select about a 5 second tape hiss section, and use Effect/Noise Removal/Get Noise Profile. Then I hit Cmd-A to select the whole audio track, and use Effect Noise Removal/OK to remove the hiss from the whole audio track. I use the default settings and this cleans up the tape hiss wonderfully! See this tutorial for more detail.
Automatically Finding and Labeling Multiple Songs: If you have multiple songs that you've captured, you want to export them easily into individual files. Use Analyze/Sound Finder (see manual documentation here) to automatically find sections of sound and make labels for the songs. You might have to tweak settings or delete some spurious labels using Tracks/Edit Labels, but it's not too hard to get it sorted out so that you have a label track under the captured audio with labels (numbered) for each song. I then name each label using the song name instead of a number, and export using File/Export Multiple. You still get a chance to edit each song's metadata as you export them - awesome.
Use File/Export Multiple. I export using variable bit-rate MP3 at the highest quality. A 5 minute song might be about 10 megabytes, but the quality is fantastic.
That's it - so if you have a desire to capture some good quality songs from old tapes you can do it on MacOSX (currently I use 10.9.3) really well and get some great high quality digital encoded songs from those old tapes.
Good luck!